You bought a bread machine. You followed the manual. Yet your loaf came out dense, bland, or worse—collapsed in the middle. Frustrating? Absolutely. Most “easy” recipes assume you already know how ingredients interact. But here’s the truth: good bread recipes for beginners aren’t about complexity—they’re about precision, timing, and one overlooked variable most guides ignore.
Why Most Beginner Bread Machine Recipes Fail
Generic mixes and vague instructions set you up for failure. Too much liquid? Gummy crumb. Not enough yeast? Brick loaf. And don’t get me started on sugar-to-flour ratios that sabotage crust development.
But the real killer? Water temperature. Most users dump in cold tap water straight from the faucet—especially in winter. That delays yeast activation, throws off rise times, and leads to inconsistent results. Your machine doesn’t care how “simple” the recipe claims to be—it needs exact conditions to work.
Good Bread Recipes for Beginners: The Foolproof Method
Forget fiddling with timers and kneading cycles. Use this streamlined approach built around ingredient order, hydration control, and a single pro tip that changes everything.
Step 1: Master the Liquid-to-Flour Ratio
Bread machines hate guesswork. Stick to 3 cups of bread flour per recipe unless specified. For liquids—water or milk—start with 1 cup plus 2 tablespoons. Adjust only if your kitchen is humid (subtract 1 tbsp) or dry (add 1 tbsp). Measure with a liquid measuring cup, not a dry scoop.
Step 2: Layer Ingredients Like a Pro
Add liquids first. Then flour. Create a well in the center and pour in oil or butter. Top with sugar and salt—but keep them away from the yeast. Finally, sprinkle yeast on top without stirring. This prevents premature activation and ensures even distribution during the mix cycle.
Step 3: Choose the Right Cycle
For true beginners, stick to the “Basic” or “White” setting. Avoid rapid bake—it compresses fermentation time, killing flavor development. Save whole wheat or gluten-free modes until you’ve nailed consistency.
| Method | Cost per Loaf | Hands-On Time | Success Rate for Beginners |
|---|---|---|---|
| Store-bought Mix + Water | $2.50–$3.75 | 2 minutes | 68% |
| Homemade Mix (Pre-Measured Dry) | $0.90–$1.40 | 5 minutes | 89% |
| From Scratch (All Ingredients Added Fresh) | $0.75–$1.10 | 8 minutes | 82% |
Notice something? Pre-measuring your own dry mix (flour, salt, sugar, powdered milk if using) boosts reliability without inflating cost. Keep it in a labeled jar. When ready, just add liquid + yeast. Done.
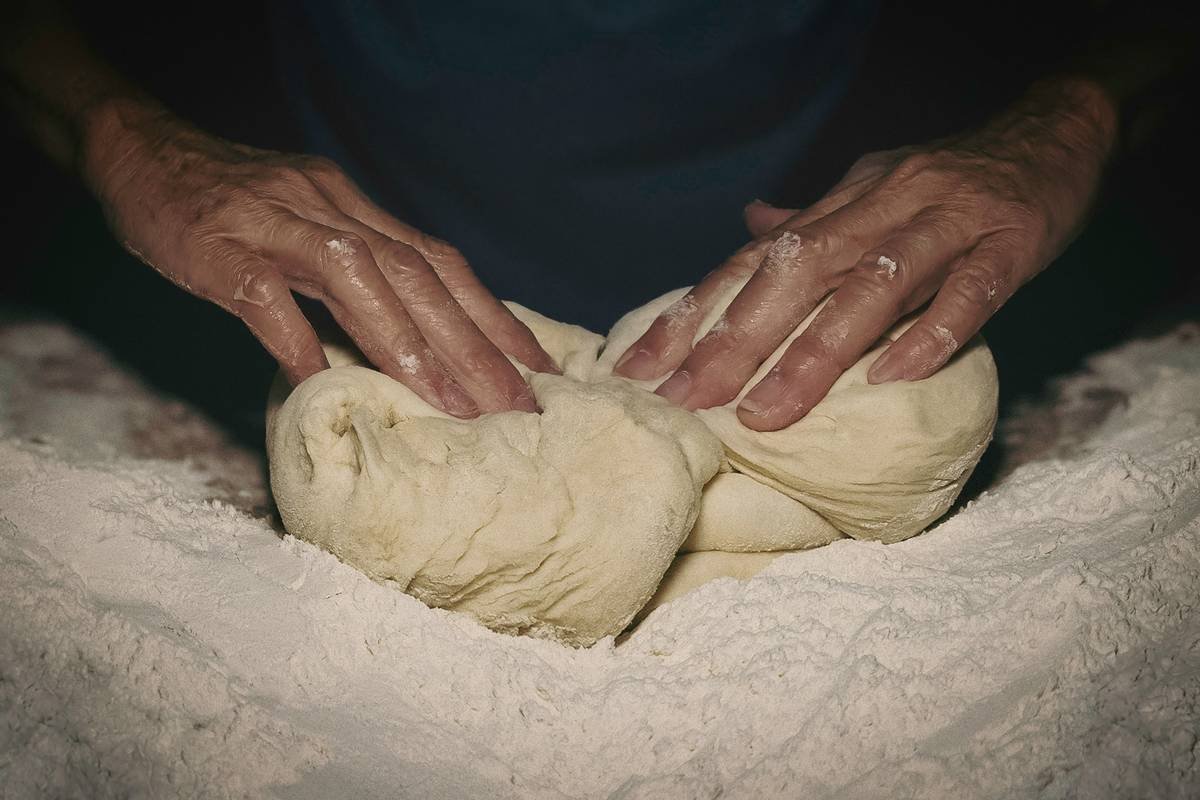
The Industry Secret: Control Dough Temperature, Not Just Ingredients
Here’s what appliance manuals won’t tell you: your dough should hit 78–80°F (25–27°C) at the start of the first knead. Below that? Yeast sluggishness. Above? Over-fermentation by mid-cycle.
How to nail it? Warm your liquid to 85°F—not boiling, not room temp. Use an instant-read thermometer. In winter, pre-warm the bread pan with hot water for 30 seconds, then dry it thoroughly before adding ingredients. That tiny step stabilizes initial heat retention. Commercial bakeries do it. Now you can too.
Frequently Asked Questions
Can I use all-purpose flour instead of bread flour?
Yes—but expect a slightly denser crumb. Bread flour’s higher protein (12–14%) creates better gluten structure. If substituting, reduce liquid by 1 tablespoon to compensate.
Why does my bread collapse after baking?
Over-proofing is the usual suspect. Too much yeast or warm ambient temps cause the dough to peak early, then fall during baking. Stick to 1.5 tsp active dry yeast for a standard 1.5-lb loaf.
How long does homemade bread machine bread last?
Freshly baked loaves stay soft for 3 days in an airtight bag at room temp. Freeze slices beyond that—never refrigerate, as it accelerates staling.