Your bread machine sits in the corner like a silent judge. You followed the recipe to the letter—yet your loaf came out dense, gummy, or worse, didn’t rise at all. The problem isn’t your machine. It’s your bread dough for bread machine. Most guides treat it like cake batter—just toss ingredients in and hope. But here’s the truth: bread dough is alive. Ignore that, and you’re baking disappointment.
Why Your Bread Dough Keeps Failing in the Machine
Most failures stem from treating bread machines as “set-and-forget” appliances. They’re not. Yeast hydration, flour protein content, even room temperature matters more than manufacturers admit. And tap water? Chlorine kills yeast activity silently. You’ll get dough—but not rising dough.
Here’s the reality: bread machines work on precise timing. Add dry yeast to wet ingredients too early during the mixing phase, and you risk premature fermentation. Result? Exhausted yeast by bake time. Flat loaf. Frustrated you.
Step-by-Step Guide to Foolproof Bread Dough for Bread Machine
Order Matters More Than You Think
Always add liquids first—water or milk warmed to 80–85°F (not hot!). Then fats like butter or oil. Dry ingredients go next, but keep salt and sugar away from yeast. Create a small well in the flour mound and pour yeast into it last. This simple sequence prevents early activation and gives consistent results.
Flour Isn’t Just Flour
Bread flour? Ideal—12–14% protein builds strong gluten. All-purpose? Acceptable if fresh—but expect slightly less rise. Never use self-rising flour; it contains baking powder and salt that interfere with yeast chemistry. And whole wheat? Limit to 50% of total flour unless you add vital wheat gluten.
Water Quality Can Make or Break Your Loaf
If your tap water tastes chlorinated, don’t use it. Boil it and cool it down, or just grab filtered water. Yeast is sensitive. Even minor chemical traces suppress its activity. Yes—it’s that finicky.
| Method | Hands-On Time | Rise Reliability | Loaf Texture |
|---|---|---|---|
| Traditional Hand-Kneading + Oven Proofing | 45–60 min | Moderate (temp/humidity dependent) | Chewy, artisanal |
| Bread Machine (Correct Dough Prep) | 5 min | High (with proper hydration & yeast handling) | Uniform, soft crumb |
| Bread Machine (Random Ingredient Dump) | 2 min | Low | Dense, gummy, or sunken |
The Industry Secret Nobody Talks About
Most commercial bread machine recipes are engineered for shelf life—not flavor. Here’s what pro bakers do: they under-hydrate slightly in humid climates and over-hydrate in dry ones—but never adjust the yeast. Why? Because modern bread machines have fixed knead-rise-bake cycles. If your dough is too wet, it sticks and doesn’t develop structure. Too dry, and gluten strands snap. The sweet spot? 62–65% hydration (water weight ÷ flour weight × 100). Weigh your ingredients. Seriously. Volume measurements lie—especially with flour packed differently bag to bag.
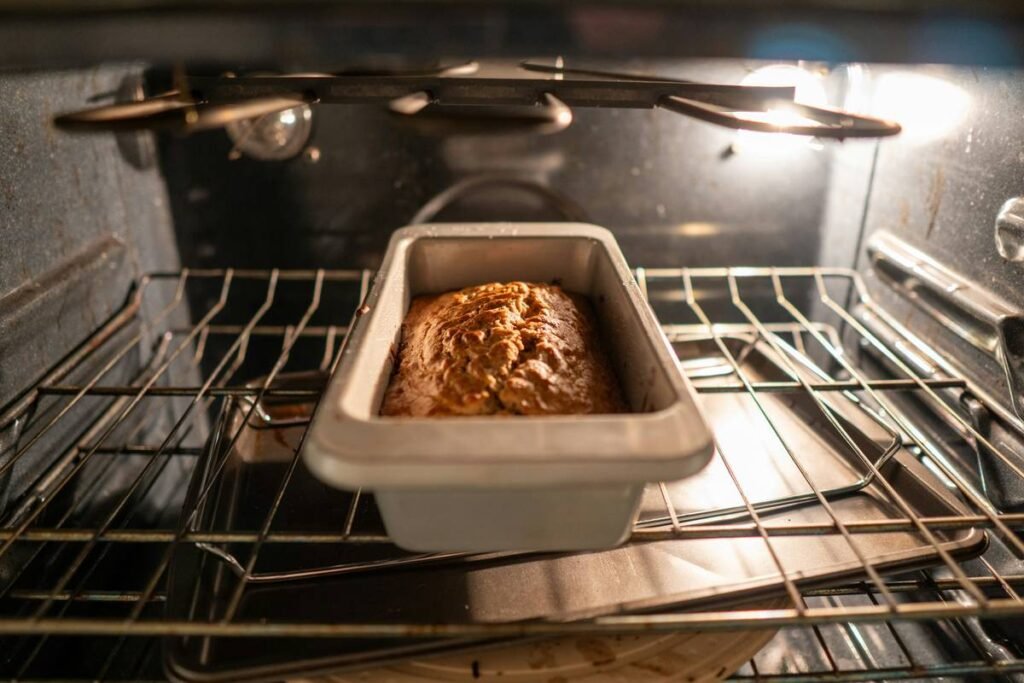
And this—most manuals won’t tell you: run the dough cycle only. Bake in a conventional oven. You get better crust development, superior oven spring, and full control over browning. Your machine becomes a $150 dough mixer. Game changer.
Frequently Asked Questions
Can I use instant yeast instead of active dry in my bread machine?
Yes—and you should. Instant yeast dissolves faster and doesn’t need proofing. Just mix it directly into dry flour. Avoid rapid-rise unless your machine has a short cycle; otherwise, flavor suffers.
Why does my bread machine dough smell sour or alcoholic?
Over-fermentation. Your kitchen is too warm, or you used too much yeast. Cut yeast by 25% in summer months or if proofing exceeds 90 minutes total.
Do I need to grease the bread pan?
Always. Even nonstick coatings fail over time. A light coat of oil or butter ensures clean release and prevents torn bottoms—which ruin presentation and texture.