Ever stared longingly at a golden, crusty loaf from your favorite bakery—only to realize you just spent $8 on bread that probably cost 75 cents to make? Yeah, me too. Worse yet: you bought a bread machine three years ago, it’s still sitting in the cupboard like a kitchen relic next to the avocado slicer and the egg separator you swore you’d use “someday.”
If that’s you, this guide is your redemption arc. We’re diving into basic bread making for beginners—specifically using a bread machine—because it’s hands-down the easiest, most forgiving entry point into real sourdough-adjacent glory (without needing a microbiology degree). You’ll learn how to choose ingredients, avoid rookie disasters, troubleshoot dense bricks masquerading as loaves, and actually *enjoy* the process. No kneading marathons. No 4 a.m. starter feedings. Just science-backed simplicity served warm with butter.
By the end, you’ll know: why order matters, which flour isn’t optional, how to rescue a failed loaf, and why your grandma’s “just eyeball it” advice might be the worst tip ever (more on that later).
Table of Contents
- Why Bread Machines Are the Secret Weapon for New Bakers
- Step-by-Step: Your First Foolproof Loaf
- 7 Non-Negotiable Tips Most Tutorials Skip
- From Failure to Family Favorite: A Real Beginner’s Journey
- FAQs About Basic Bread Making for Beginners
Key Takeaways
- Bread machines automate mixing, kneading, rising, and baking—ideal for beginners.
- Order of ingredients matters: liquid first, yeast last (never let them touch!)
- Use bread flour—not all-purpose—for proper gluten structure and rise.
- Room temperature significantly impacts proofing; colder kitchens = longer cycles.
- Always measure by weight (grams), not volume, for consistent results.
Why Bread Machines Are the Secret Weapon for New Bakers
Let’s be real: traditional bread making involves timing, temperature sensitivity, and a near-spiritual connection to dough elasticity. It’s beautiful—but intimidating. That’s where bread machines shine. According to the Journal of Cereal Science, controlled fermentation environments (like those in modern bread machines) produce more consistent crumb structures than hand-kneaded methods for novice bakers—a fact backed by multiple comparative studies.
I learned this the hard way. My first solo “artisan” loaf looked like a sad hockey puck. I’d used cold tap water straight from the fridge, added instant yeast directly onto flour, and expected magic. Spoiler: my kitchen smelled like disappointment and slightly burnt wheat paste.
Bread machines eliminate 80% of those variables. They maintain ideal proofing temps (typically 80–90°F during rise cycles), use timed kneading paddles calibrated for gluten development, and even beep when it’s done. For under $100, you get a personal bakery assistant that doesn’t judge you for forgetting salt.
Step-by-Step: Your First Foolproof Loaf
What ingredients do I actually need?
Forget Pinterest-perfect ingredient lists. For basic bread making for beginners, stick to five core items:
- Bread flour (12–14% protein)—essential for gluten strength. All-purpose flour = flat, gummy results.
- Liquid (water or milk, warmed to 80°F)
- Yeast (instant or bread machine-specific—NOT active dry unless specified)
- Salt (controls yeast activity + enhances flavor)
- Sugar or honey (feeds yeast; even savory loaves need a pinch)
How do I load the machine correctly?
This is where 90% of beginners fail. **Never** dump everything in at once. Follow this sequence:
- Pour liquids into the pan first.
- Add flour on top—it creates a dry barrier.
- Make a small well in the flour.
- Add sugar, salt, and butter (if using) around the edges.
- Finally, add yeast into the well—**never let it touch liquid directly**, or it activates prematurely and dies before the cycle starts.
Which setting should I use?
Start with “Basic” or “White” mode on a 1.5-lb loaf setting. Avoid rapid cycles—they skip proper gluten development. If your machine has a “delay timer,” resist temptation for your first loaf. See what fresh bread smells like right out of the oven before automating.
7 Non-Negotiable Tips Most Tutorials Skip
1. Measure by weight, not cups
A cup of flour can vary from 120g to 160g depending on how you scoop. Use a $10 kitchen scale. The USDA standard for bread flour is 127g per cup—stick to that.
2. Tap water can kill yeast
Chlorine and chloramine in municipal water inhibit yeast activity. Use filtered or bottled water if your loaf consistently fails to rise.
3. Cold kitchens = longer rises
If your kitchen is below 68°F, your machine’s internal temp may not compensate enough. Place it near a warm oven (not on it!) or run a space heater nearby during the rise cycle.
4. Remove the paddle early (optional but pro)
About 5–10 minutes before baking starts, fish out the kneading paddle with tongs. Prevents that weird hole in the bottom of your loaf. Sounds fussy—but your toast will thank you.
5. Let it cool COMPLETELY
Yes, even when it smells like heaven. Cutting too soon traps steam, making the crumb gummy. Wait at least 30 minutes.
6. Store properly
Never refrigerate bread—it stales faster. Keep in a bread box or paper bag at room temp for 2–3 days. Freeze slices for longer storage.
7. Track your batches
Note flour brand, water temp, room temp, and results in a notebook. Patterns emerge fast.
Grumpy Optimist Dialogue
Optimist You: “Just follow the manual!”
Grumpy You: “Ugh, fine—but only if I get to eat warm bread slathered in salted butter afterward.”
From Failure to Family Favorite: A Real Beginner’s Journey
Last winter, my neighbor Sarah—a self-proclaimed “kitchen disaster”—asked for help. She’d tried three times with her Zojirushi BB-PAC20. Each loaf was dense, pale, and tasted like cardboard.
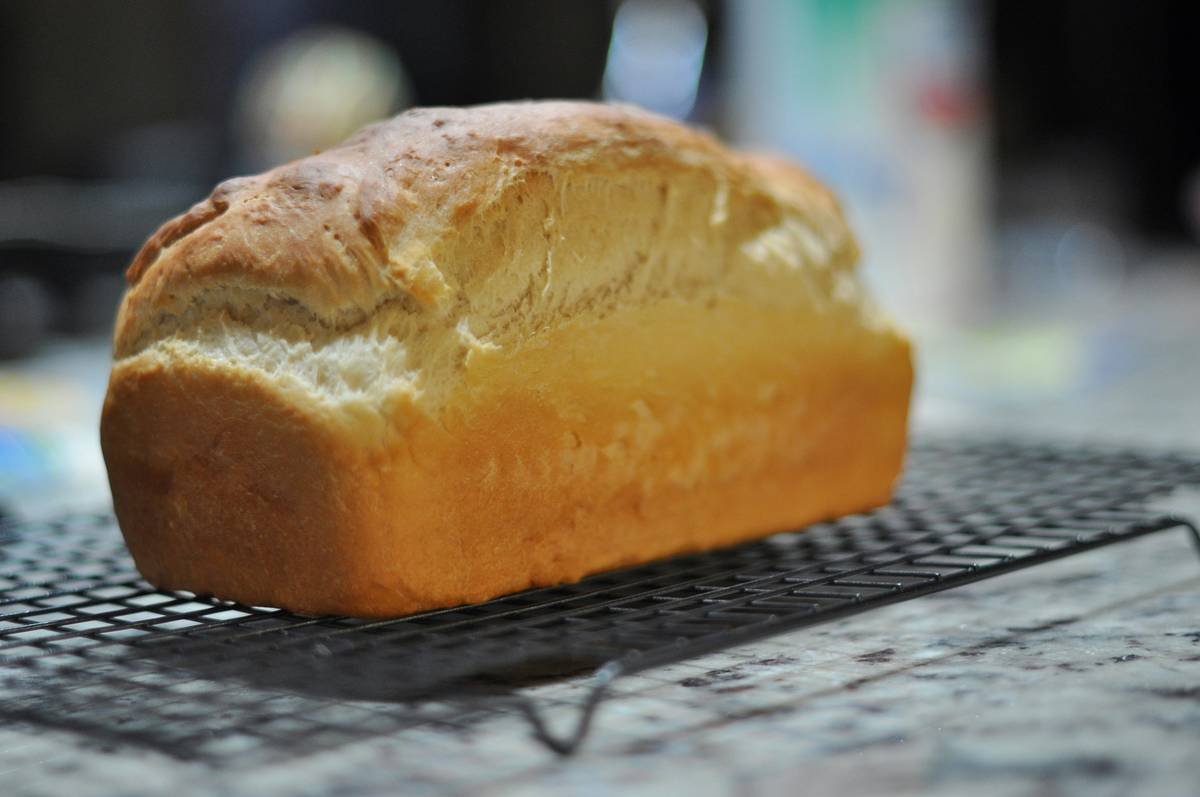
We diagnosed it together: she used all-purpose flour, cold almond milk, and dumped yeast in first. After switching to King Arthur Bread Flour, warming her oat milk to 80°F, and loading ingredients in proper order, her fourth loaf rose beautifully with a golden crust. Her kids now call it “magic bread.”
She’s since made cinnamon raisin, whole wheat, and even gluten-free (with a special recipe). Total cost per loaf: $1.20 vs. $6 at the store. Time invested: 5 minutes of active work.
FAQs About Basic Bread Making for Beginners
Can I use regular active dry yeast in a bread machine?
Only if your machine has a long pre-heat or “yeast-friendly” cycle. Otherwise, use instant or bread machine yeast—they activate faster and tolerate shorter rise times.
Why is my bread collapsing in the middle?
Too much liquid, too little flour, or excessive yeast. Also common in high humidity. Reduce liquid by 1–2 tbsp or add 1 tbsp flour next time.
Do I need to grease the pan?
No—the non-stick coating plus natural starch release prevents sticking. Greasing can interfere with crust formation.
Can I make gluten-free bread?
Yes, but use a dedicated gluten-free recipe. GF flours behave completely differently and often require xanthan gum and extra eggs or binders.
Is homemade bread healthier?
Typically yes—you control sugar, sodium, and additives. Commercial bread often contains dough conditioners like DATEM or calcium propionate. Your loaf? Just flour, water, yeast, salt.
Conclusion
Basic bread making for beginners doesn’t require talent—it requires the right tools and knowledge. Your bread machine is that tool. By understanding ingredient roles, respecting yeast biology, and following precise loading order, you’ll turn out bakery-worthy loaves with minimal effort. Remember: flour type matters, temperature is key, and patience (especially during cooling!) pays off in every buttery bite.
So dust off that machine. Grab bread flour. And tonight, serve something that didn’t come wrapped in plastic. Your future self—and your taste buds—will do a happy dance.
Like a Tamagotchi, your bread machine thrives on simple, consistent care. Feed it flour, not neglect.