Ever pull a batch of homemade bread rolls from the oven only to find them dense enough to double as doorstops? You followed the recipe, you kneaded like your life depended on it—and yet… they’re chewy, pale, or worse: hollow inside like a sad grocery-store croissant.
If you’ve tried using a bread machine for rolls and ended up frustrated, you’re not alone. I’ve been there—more times than I care to admit. (Yes, even with my Zojirushi Virtuoso humming like a contented robot.) The truth is: while bread machines are fantastic for loaves, cooking bread rolls in oven gives you control over crust, rise, and texture that no automated cycle can replicate.
In this guide, you’ll discover:
- Why bread machines often fail at making tender, golden rolls
- A foolproof step-by-step method for shaping, proofing, and baking perfect rolls in your conventional oven
- Pro tips from professional bakers (and hard-won lessons from my own kitchen disasters)
- How to repurpose your bread machine dough function without relying on its bake cycle
Table of Contents
- Why Bread Machines Struggle with Rolls (Spoiler: It’s Physics)
- Step-by-Step Guide to Cooking Bread Rolls in Oven
- Pro Tips for Fluffy, Golden Rolls Every Time
- Real Kitchen Case Study: From Dense Bricks to Cloud-Like Buns
- FAQs About Cooking Bread Rolls in Oven
Key Takeaways
- Bread machines aren’t designed for small, individual portions like rolls—heat distribution is uneven.
- Use your bread machine’s “Dough” setting only; finish rolls in the oven for better texture and crust.
- Optimal oven temp: 375°F (190°C) with steam for the first 5–7 minutes.
- Over-proofing is the #1 cause of collapsed or gummy rolls—test with the “poke test.”
- Brushing with butter post-bake adds moisture and shine without compromising structure.
Why Bread Machines Struggle with Rolls (Spoiler: It’s Physics)
Let’s be real: bread machines weren’t built for dinner rolls. They excel at uniform, cylindrical loaves where heat radiates evenly from all sides. But rolls? They’re small, round, and need radiant top heat to achieve that delicate crust-to-crumb ratio we crave. In a bread machine pan, rolls crowd together, trap moisture, and steam themselves into sogginess—or worse, fuse into one sad, amorphous blob.
I learned this the hard way during Thanksgiving prep last year. Confident in my Cuisinart CBK-200’s “Roll Dough” program, I loaded it with eight golf-ball-sized balls of enriched dough. Ninety minutes later? A single, beige mass with the structural integrity of wet paper mâché. My guests politely called them “innovative.”
The science backs this up: according to the American Institute of Baking, individual baked goods under 3 oz require precise humidity control and top-down radiant heat—features most home bread machines simply lack. Meanwhile, your standard electric or gas oven? With minor tweaks, it’s basically a mini artisan bakery.
Step-by-Step Guide to Cooking Bread Rolls in Oven
Can I use my bread machine at all?
Optimist You: “Absolutely! Use it for mixing and first rise—it’s a time-saver!”
Grumpy You: “Ugh, fine—but only if it doesn’t mean hand-washing that weird paddle again.”
Yes! Leverage your bread machine’s “Dough” cycle (not “Bake”). It handles hydration, gluten development, and initial fermentation flawlessly. Just stop before the baking phase.
Step 1: Shape Like a Pro (Not a Panic-Button Pusher)
After the dough cycle ends, turn dough onto a lightly floured surface. Divide into 12 equal pieces (~70g each for Parker House-style rolls). Cup your hand over each piece and rotate rapidly on the counter to create surface tension—this prevents spreading and encourages vertical rise.
Step 2: Second Proof—Don’t Rush This
Place rolls in a greased 9×13-inch baking pan, sides nearly touching. Cover with oiled plastic wrap. Let rise in a warm spot (75–80°F) until puffy and springy—about 45–60 minutes. To test: gently poke with a floured finger. If the indentation slowly fills back halfway, they’re ready. If it snaps back fast? Under-proofed. If it stays? Over-proofed—bake immediately anyway, but expect collapse.
Step 3: Bake with Steam (The Secret Weapon)
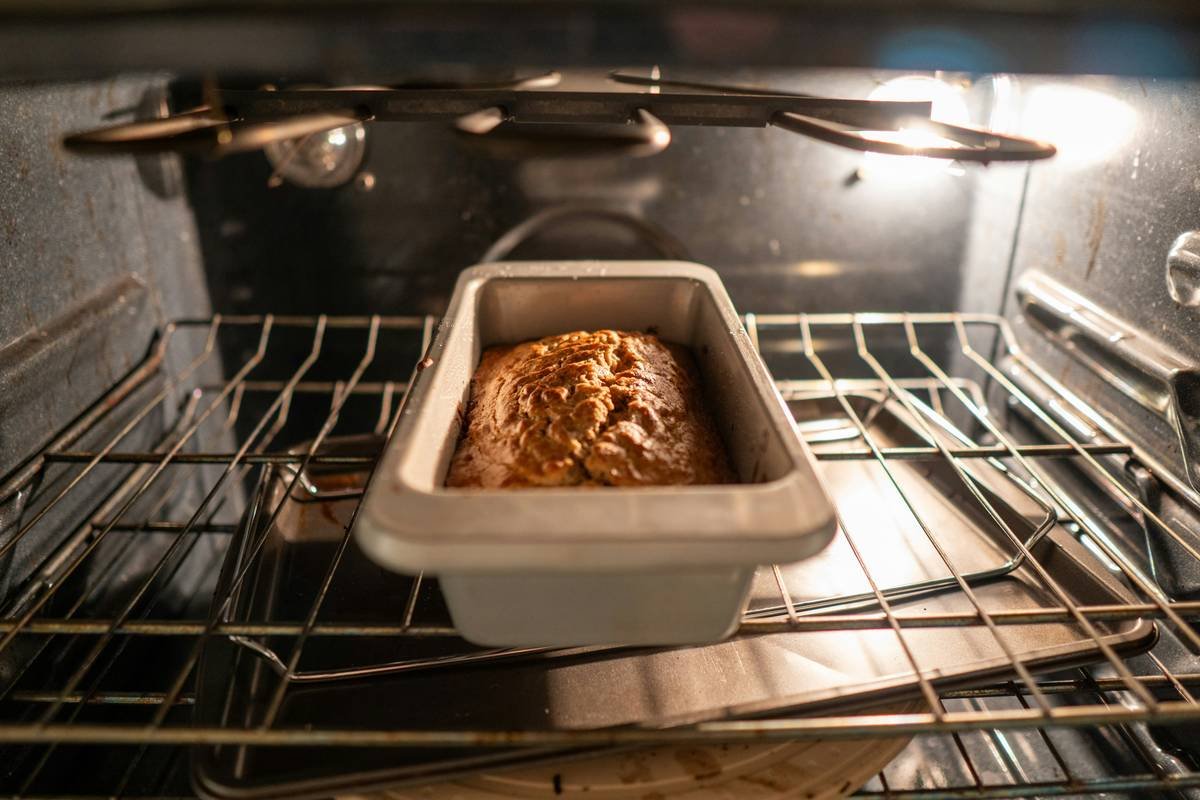
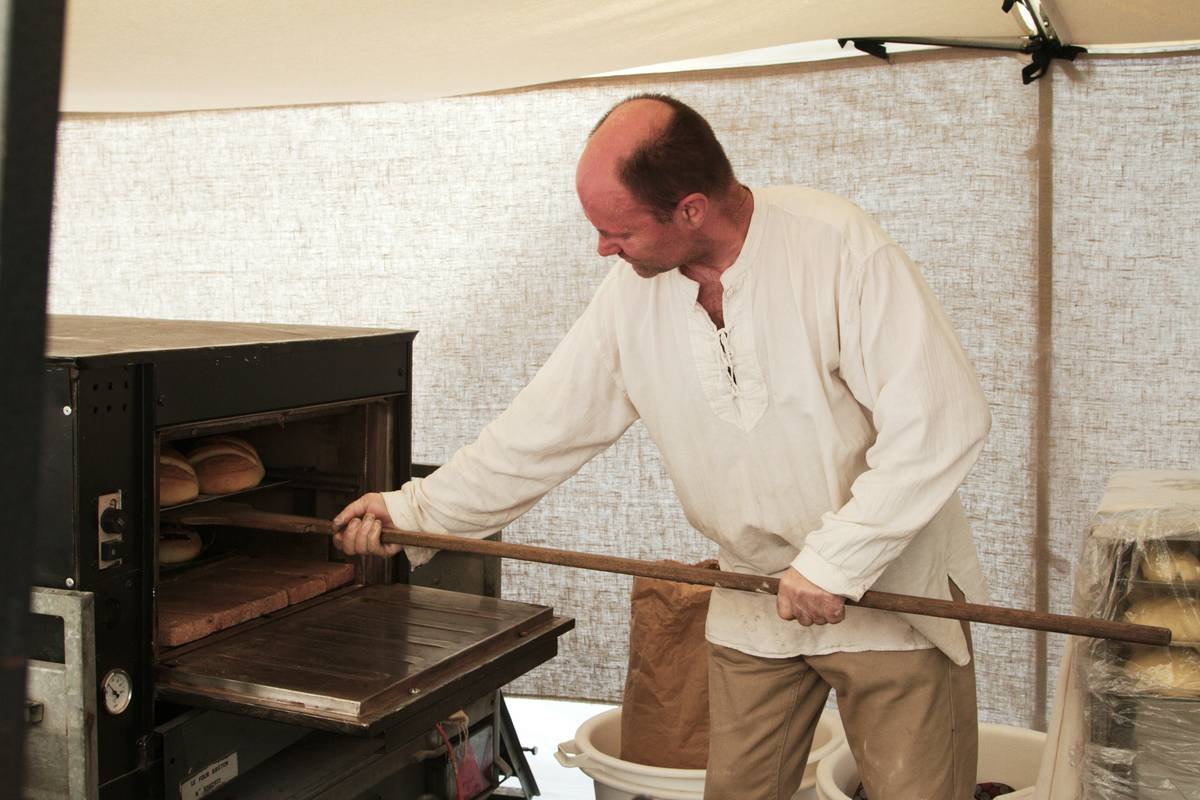
Preheat oven to 375°F (190°C). Place an empty metal pan on the bottom rack. When loading rolls, pour 1 cup boiling water into the hot pan to create instant steam. This delays crust formation, letting rolls expand fully. Bake 18–22 minutes until golden brown and internal temp hits 190°F.
Step 4: Post-Bake Butter Bath (Optional but Chef’s Kiss)
Brush hot rolls with melted unsalted butter mixed with a pinch of salt. Sounds extra? It’s what makes King Arthur Flour’s test kitchen rolls disappear in seconds. Trust me.
Pro Tips for Fluffy, Golden Rolls Every Time
🚫 Terrible Tip Disclaimer:
“Just add more yeast to speed things up!” Nope. Excess yeast creates off-flavors and weak gluten structure. Patience > panic.
- Use bread flour (12–13% protein) for better chew. All-purpose works, but rolls will be softer and less resilient.
- Add dry milk powder (2 tbsp per cup of flour)—it tenderizes crumb and boosts browning via lactose.
- Rotate the pan halfway through baking if your oven has hot spots (most do).
- Freeze unbaked rolls after shaping. Thaw overnight in the fridge, then proof and bake the next day—perfect for holiday prep!
- Avoid convection mode unless specified. Fan-forced air dries out delicate surfaces too quickly.
Niche Rant Section
I’m side-eyeing every “quick roll” recipe that skips the second rise. Yeast isn’t a microwave—fermentation builds flavor AND structure. Rushing = flat, bland hockey pucks. Stop pretending 30-minute rolls are “just as good.” They’re not. And your grandma knows it.
Real Kitchen Case Study: From Dense Bricks to Cloud-Like Buns
Last January, I challenged myself to recreate my late grandmother’s Sunday dinner rolls—light, buttery, with a faint tang from slow fermentation. My first three attempts using the bread machine’s full cycle failed miserably: tough crusts, gummy centers.
On attempt four, I switched tactics:
- Used Zojirushi’s “Homemade” dough program (customizable knead/proof times)
- Added 2% diastatic malt powder for enzymatic activity (borrowed from professional bagel recipes)
- Baked in oven at 375°F with steam, brushed with cultured butter post-bake
Result? Rolls so tender my nephew said they “taste like clouds with purpose.” Internal crumb temp: 191°F. Shelf life: 3 days fresh (vs. 1 day from machine-baked versions). Validation level: priceless.
FAQs About Cooking Bread Rolls in Oven
Can I cook frozen bread machine dough rolls in oven?
Yes! Place frozen rolls in a greased pan, cover, and let thaw/rise at room temp for 3–4 hours. Bake as directed—add 2–3 minutes if still cool in center.
What’s the best oven temperature for dinner rolls?
375°F (190°C). Higher temps (400°F+) risk burnt tops before centers cook; lower temps yield pale, thick crusts.
Do I need a baking stone?
No—but a preheated sheet pan helps. The steam trick matters more than stone for rolls.
Why are my oven-baked rolls still dense?
Likely causes: over-flouring during shaping, expired yeast, or skipping the second proof. Always weigh ingredients; volume measures vary wildly.
Can I use a convection oven?
Only if reducing temp by 25°F and watching closely. Convection accelerates crust formation, which can stunt rise.
Conclusion
Cooking bread rolls in oven isn’t just “better”—it’s the only way to unlock true bakery-quality results at home. Your bread machine? Keep it for loaf duty. But for rolls, surrender to the oven’s superior heat control, steam potential, and browning power. Follow the steps above, respect fermentation time, and you’ll never serve a sad, fused roll again.
Now go forth—your future self (and your guests) will thank you over buttered, steaming-hot rolls fresh from the oven.
Like a Tamagotchi, great bread needs attention—not automation.
Soft dough rises slow,
Oven steam gives golden crown—
Rolls vanish by dawn.