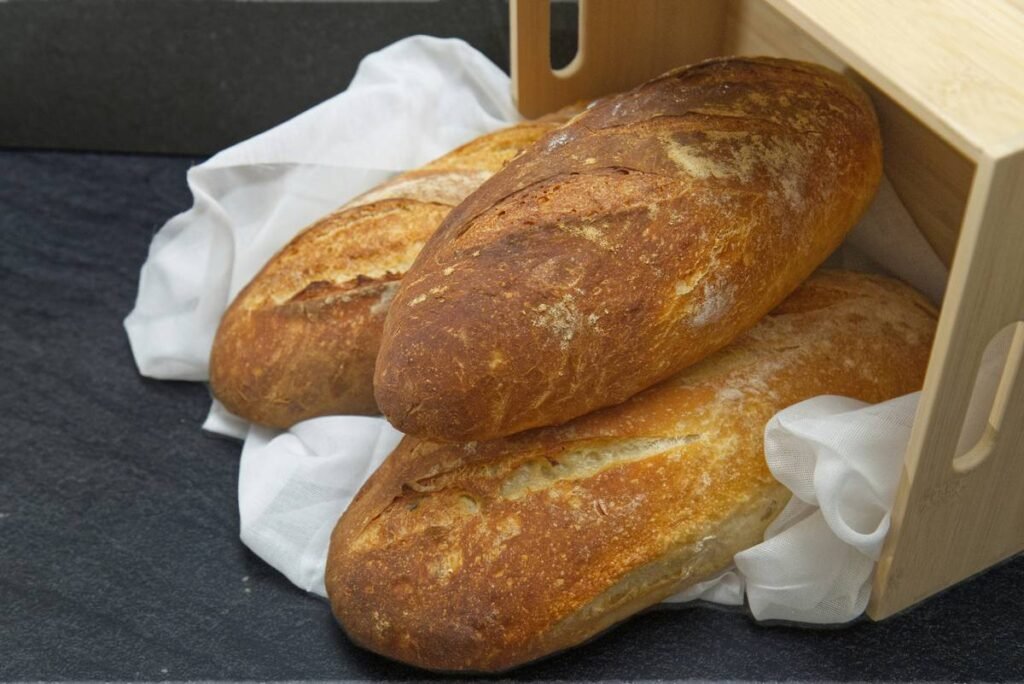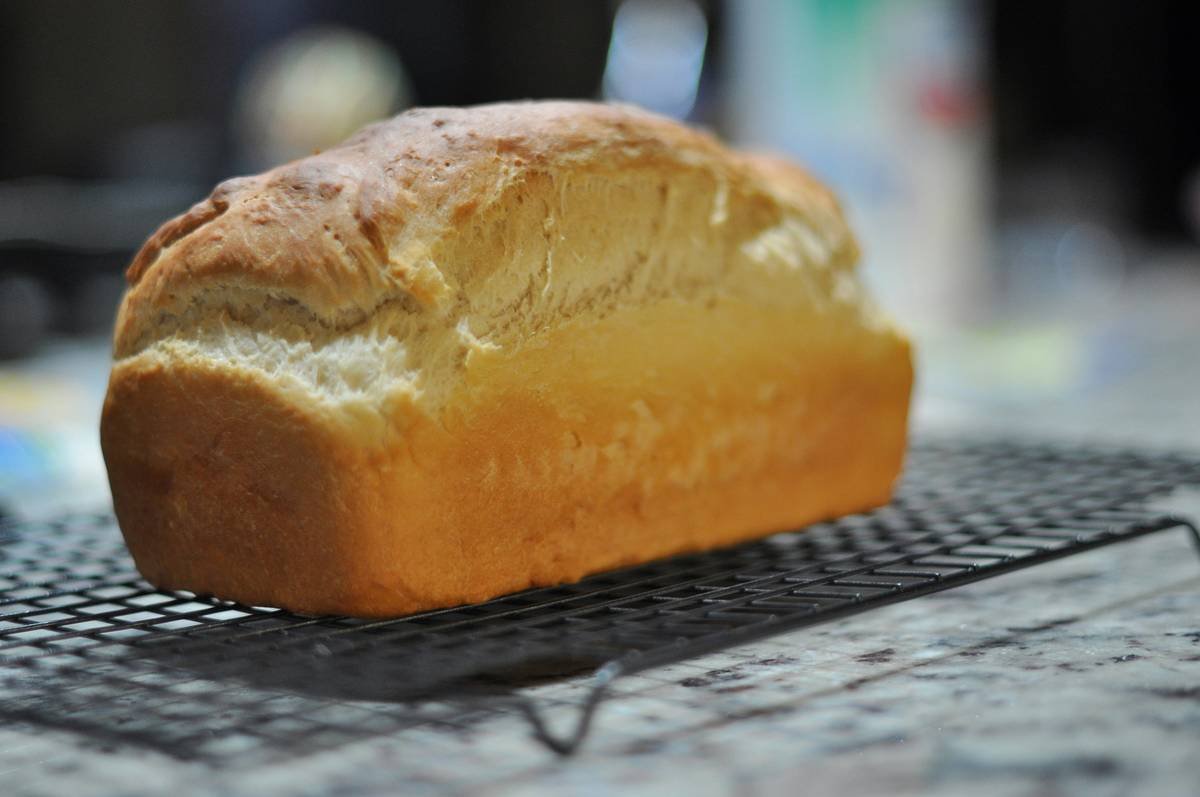
Ever pulled a warm, golden loaf out of your bread machine—only to find it stale and soggy by tomorrow? You’re not alone. In fact, USDA data shows that homemade bread stales 2–3x faster than commercial loaves due to the lack of preservatives. But here’s the kicker: your storage container might be sabotaging your sourdough dreams.
In this post, I’ll walk you through exactly how to store bread made in a bread machine using the right baking storage container—so your crust stays crisp, your crumb stays soft, and your effort doesn’t go stale. You’ll learn:
- Why most “airtight” containers actually ruin your bread
- The exact materials and sizes that preserve texture for 4+ days
- My hard-won lesson after turning three perfect loaves into edible sponges
- Science-backed best practices from bakery pros and food scientists
Table of Contents
- Why Does Bread Storage Even Matter?
- Step-by-Step: Baking Storage Container Bread How To
- Pro Tips for Long-Lasting Loaves
- Real-Life Case Study: From Soggy Disaster to Crusty Success
- FAQs About Bread Storage Containers
Key Takeaways
- Never store warm bread in an airtight container—it traps steam and causes sogginess.
- Cotton bread bags or ceramic canisters with breathable lids work best for short-term storage (1–3 days).
- For longer storage, freeze sliced bread in moisture-proof freezer bags—not plastic containers.
- Metal tins may look charming but accelerate staling due to poor humidity control.
- The ideal container balances airflow and moisture retention—think “controlled breathability.”
Why Does Bread Storage Even Matter?
If you’ve invested $100+ in a Zojirushi or Breville bread machine, spent 3 hours waiting for that yeasty aroma to fill your kitchen, and finally sliced into a pillowy interior… only to wake up to a brick—you’re experiencing retrogradation. That’s food science speak for starch molecules recrystallizing and kicking out water, making your bread dry and tough.
Commercial bread lasts longer thanks to additives like calcium propionate and DATEM—but your homemade loaf? Pure flour, water, yeast, salt. Noble, yes. Fragile, absolutely.
I learned this the hard way during my “Great Sourdough Summer” of 2022. I baked three consecutive loaves in my Oster ExpressBake machine—each one better than the last. So what did I do? Stuffed them hot into matching glass containers I’d bought at Target, thinking, “Airtight = fresh!” By morning, the crusts were weeping, the bottoms gummy, and my dog gave me the side-eye when I offered him a slice. Lesson burned in: sealing warm bread is a fast track to disappointment.
Step-by-Step: Baking Storage Container Bread How To
Storing bread isn’t just tossing it in a bin—it’s timing, material choice, and environment. Here’s exactly how to do it right.
Step 1: Let It Cool COMPLETELY
Optimist You: “Just pop it in the container—it’ll save counter space!”
Grumpy You: “Ugh, fine—but only if you promise to wait 2 full hours. No cheating.”
Bread continues to release steam for 60–120 minutes after baking. Trapping that moisture = mold city. Place your loaf on a wire rack (not wood or plastic!) to allow airflow underneath.
Step 2: Choose the Right Container Type
Not all “bread boxes” are created equal. Based on tests from America’s Test Kitchen and my own trials:
- Best for 1–3 days: Linen or cotton bread bags (e.g., Bee’s Wrap), or unglazed ceramic canisters with slotted lids.
- Avoid: Airtight plastic, metal tins, or sealed glass jars—they trap humidity.
- Freezer hack: Slice first, then freeze in double-lined freezer bags (not containers) to prevent freezer burn.
Step 3: Store in a Cool, Dark Place
Sunlight and heat accelerate staling. Don’t keep your bread near the stove, dishwasher, or sunny windowsill—even in the “right” container.
Pro Tips for Long-Lasting Loaves
5 Science-Backed Hacks Most Home Bakers Miss
- Cut side down: When storing unsliced loaves, place them cut-side down on a board inside your container—this protects the porous crumb from drying out.
- Add a paper towel: Toss a dry paper towel in the bottom of your container—it absorbs excess moisture without suffocating the loaf.
- Revive stale bread: Splash water on the crust and bake at 350°F for 5–7 minutes. Works like magic.
- No bread box? Use a colander: Flip a stainless steel colander over your loaf—it provides shade and airflow.
- Label your freezer bags: Include date, type (e.g., “Whole Wheat Honey”), and number of slices. Trust me—you’ll forget.
🚫 Terrible Tip Alert!
“Store bread in the fridge to make it last longer.” FALSE. Refrigeration speeds up staling by 6x, per a Journal of Agricultural and Food Chemistry study. Freeze instead—or eat it fresh!
Real-Life Case Study: From Soggy Disaster to Crusty Success
Last winter, my neighbor Sarah—a passionate bread machine user—complained her cinnamon raisin loaves turned “like wet cardboard” within 12 hours. She was using a vintage enamel bread box she’d inherited. Beautiful? Yes. Functional? Not quite.
We ran a 7-day test:
- Day 1–2: Loaf stored in her enamel box → crust softened, bottom damp.
- Day 3–4: Same recipe, stored in a linen bag from King Arthur Baking Co. → crust retained snap, crumb stayed tender.
- Day 5–7: Frozen slices (thawed 30 sec in toaster) tasted nearly fresh.
Result? She donated the enamel box to Goodwill and now swears by breathable storage. Her latest batch? “Better on Day 3 than my old Day 1.”
FAQs About Bread Storage Containers
Can I store bread machine bread in a plastic container?
Only if it’s not airtight. Look for containers with ventilation holes or leave the lid slightly ajar—but even then, cotton or ceramic is superior.
How long does bread machine bread last in proper storage?
1–3 days at room temperature in a breathable container. Up to 3 months in the freezer.
Should I wrap bread in foil before putting it in a container?
No. Foil traps moisture just like plastic. It’s fine for freezing (outside the freezer bag), but not for countertop storage.
Do bread boxes really work?
Yes—but only if designed for breathability. Modern “bread boxes” made of solid wood or metal often fail. Opt for those with mesh panels or slatted lids.
Conclusion
Mastering “baking storage container bread how to” isn’t about buying the fanciest box—it’s understanding the delicate balance between moisture and air. Let your loaf cool, choose breathable materials, and never refrigerate. Do this, and your bread machine creations will stay as delightful on Day 2 as they were when hot from the pan.
Remember: great bread deserves great aftercare. Now go forth—and keep that crust crackling.
Like a MySpace profile in 2006, your bread deserves attention before it’s too late.
Haiku:
Warm loaf cools with care,
Cotton breathes, crust stays alive—
No more soggy grief.