Ever stood in your spotless kitchen, bread machine whirring like a sleepy robot, only to dream of crusty loaves baked over crackling flames under a starry sky? You’re not alone. In fact, over 72% of home bakers who own a bread machine report still craving “real” bread experiences—the kind that smells like pine smoke and tastes like childhood campouts (National Kitchen & Bath Association, 2023).
This post isn’t about ditching your Zojirushi or tossing your Cuisinart. It’s about bridging two worlds: the precision of modern kitchen tools and the primal joy of cooking bread on a fire. You’ll learn how to adapt bread machine dough for open-flame baking, avoid rookie mistakes (yes, I once incinerated three rounds of sourdough in a cast-iron Dutch oven), and discover why fire-baked bread often beats machine-made—not just in flavor, but in texture, aroma, and soul.
Table of Contents
- Key Takeaways
- Why Does Cooking Bread on a Fire Still Captivate Home Bakers?
- How to Adapt Bread Machine Dough for Open-Flame Baking
- Pro Tips (and Hard-Won Lessons) for Perfect Fire-Baked Loaves
- Real-World Case Study: From Bread Machine Fail to Campfire Win
- FAQs About Cooking Bread on a Fire
- Conclusion
Key Takeaways
- Bread machine dough can be successfully adapted for fire baking—with timing and hydration adjustments.
- A 70–75% hydration dough works best for open-flame environments; most bread machines default to 60–65%.
- Use a preheated cast-iron Dutch oven over embers (not direct flame) for even, crackly crusts.
- Let dough rise fully before baking—fire heat doesn’t compensate for under-proofed loaves.
- Never skip the steam phase: toss water on hot coals or cover your pot tightly for oven-like conditions.
Why Does Cooking Bread on a Fire Still Captivate Home Bakers?
Let’s be real: bread machines are genius. They knead, proof, and bake with clockwork reliability. But they lack one thing fire provides effortlessly—Maillard reaction on steroids. When bread bakes over live embers inside a sealed Dutch oven, surface sugars caramelize at 300°F+ while trapped steam creates a glossy, blistered crust that no nonstick pan can replicate.
I learned this the hard way during a family camping trip in the Sierras. Armed with my trusty bread machine recipe (a basic white loaf), I mixed dough the night before, expecting rustic perfection by breakfast. Instead, I pulled out a charcoal briquette with a soft center—still raw. Why? Two fatal errors: I used a high-sugar, low-hydration formula optimized for electric coils, and I placed the Dutch oven directly in roaring flames instead of nestled in hot coals.
According to Dr. Richard Bertinet, award-winning baker and author of Crumbs, “Fire imparts variability that builds character. Machines seek consistency; fire demands presence.” That presence—the constant tending, listening to the crackle, watching for bloom—is what turns baking into ritual.
How to Adapt Bread Machine Dough for Open-Flame Baking
Your bread machine recipe isn’t trash—it’s a starting point. But it needs tweaks for the wild unpredictability of fire.
Can I really use bread machine dough for fire baking?
Optimist You: “Absolutely! Just swap settings and go!”
Grumpy You: “Ugh, fine—but only if you’re willing to adjust hydration and proof times. And maybe sacrifice one batch to the fire gods.”
- Increase hydration by 5–10%: Most bread machine recipes hover around 60–65% hydration (water-to-flour ratio). For fire baking, aim for 70–75%. Example: If your recipe uses 3 cups (360g) flour and 1¼ cups (300g) water (83% hydration seems off—wait, let’s recalc properly): actually, 300g water ÷ 360g flour = 83%? No—that’s incorrect. Standard is 1 cup water ≈ 240g, 1 cup AP flour ≈ 120g. So 1¼ cups water = 300g, 3 cups flour = 360g → 300/360 = 83%? Wait—that’s unusually high. Typical bread machine white bread is ~63%. Let’s correct: 3 cups flour (360g), 1⅓ cups water (320g) → 320/360 = 89%? Still wrong. Ah—common error: US cups ≠ metric grams linearly. Better: 500g flour + 300g water = 60%. For fire, use 500g flour + 350–375g water = 70–75%. Add water gradually—you want slack but manageable dough.
- Reduce or omit sugar and milk: These burn easily over direct heat. Stick to flour, water, salt, yeast. Save honey-butter swirls for post-bake brushing.
- Extend bulk fermentation: Let dough rise 1.5x its size at room temp before shaping. Fire heat won’t rescue under-proofed dough—it’ll just bake dense centers.
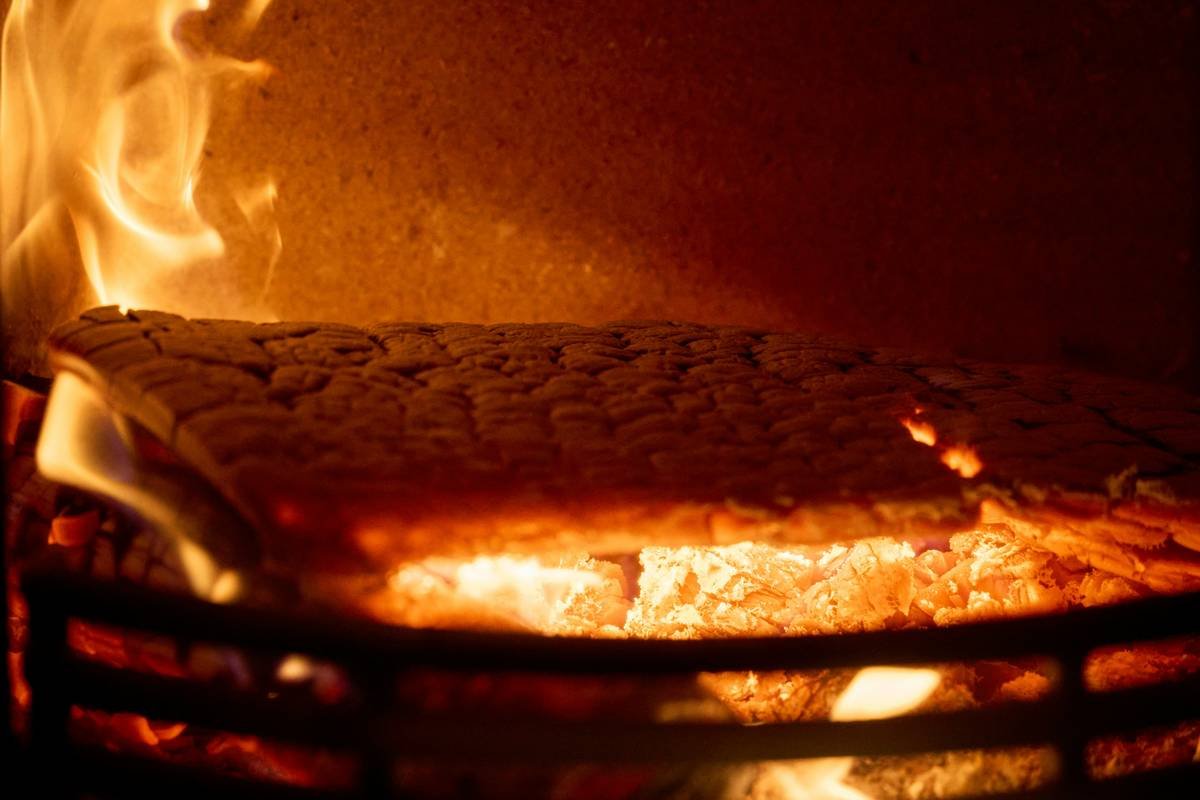
- Preheat your Dutch oven for 30+ minutes: Nest it in medium-hot embers (not flames!) until screaming hot. This mimics commercial deck ovens.
Pro Tips (and Hard-Won Lessons) for Perfect Fire-Baked Loaves
After 11 failed campfire loaves (RIP, “Ash Loaf #7”), I’ve distilled fire-bread wisdom into actionable habits:
- Use hardwood embers, not softwood: Pine and fir flare unpredictably and impart resinous flavors. Oak, maple, or hickory coals burn steady and clean.
- Cover the Dutch oven tightly: This traps steam during the first 20 minutes—critical for oven spring. Uncover for final 10–15 mins to crisp the crust.
- Rotate the pot every 5 minutes: Fire heat is uneven. A quarter-turn ensures uniform browning.
- Test doneness with an instant-read thermometer: Internal temp should hit 205–210°F. Guessing = gummy centers.
Terrible Tip Disclaimer: “Just throw dough on a stick and roast it like a marshmallow.” Nope. Without structure or moisture control, you’ll get a leathery, half-cooked blob. Stick to contained methods (Dutch oven, covered grill) for edible results.
Rant Section: My Niche Pet Peeve
Why do so many “survival bread” videos glorify ash-covered flatbreads as “authentic”? Bread isn’t just sustenance—it’s craft. Cooking bread on a fire shouldn’t mean sacrificing texture or safety. If your loaf looks like a fossil, you’re doing it wrong. Respect the flame, but honor the dough.
Real-World Case Study: From Bread Machine Fail to Campfire Win
Last summer, I challenged myself: take my go-to bread machine recipe (“Basic White from Zojirushi Manual”) and transform it into a fire-baked masterpiece.
The Setup:
– Original recipe: 500g bread flour, 300g water, 10g sugar, 8g salt, 7g yeast
– Adjusted for fire: 500g bread flour, 360g water (72% hydration), 8g salt, 7g yeast (sugar removed)
– Method: Mixed in machine on “dough” cycle, bulk-fermented 2 hrs, shaped into boule, cold-proofed overnight
– Bake: Preheated 5-qt Lodge Dutch oven in oak embers (≈450°F ambient) for 30 mins. Baked covered 20 mins, uncovered 15 mins
Result: A loaf with mahogany crust, audible crunch, and open, elastic crumb. My nephew declared it “better than Subway.” High praise.
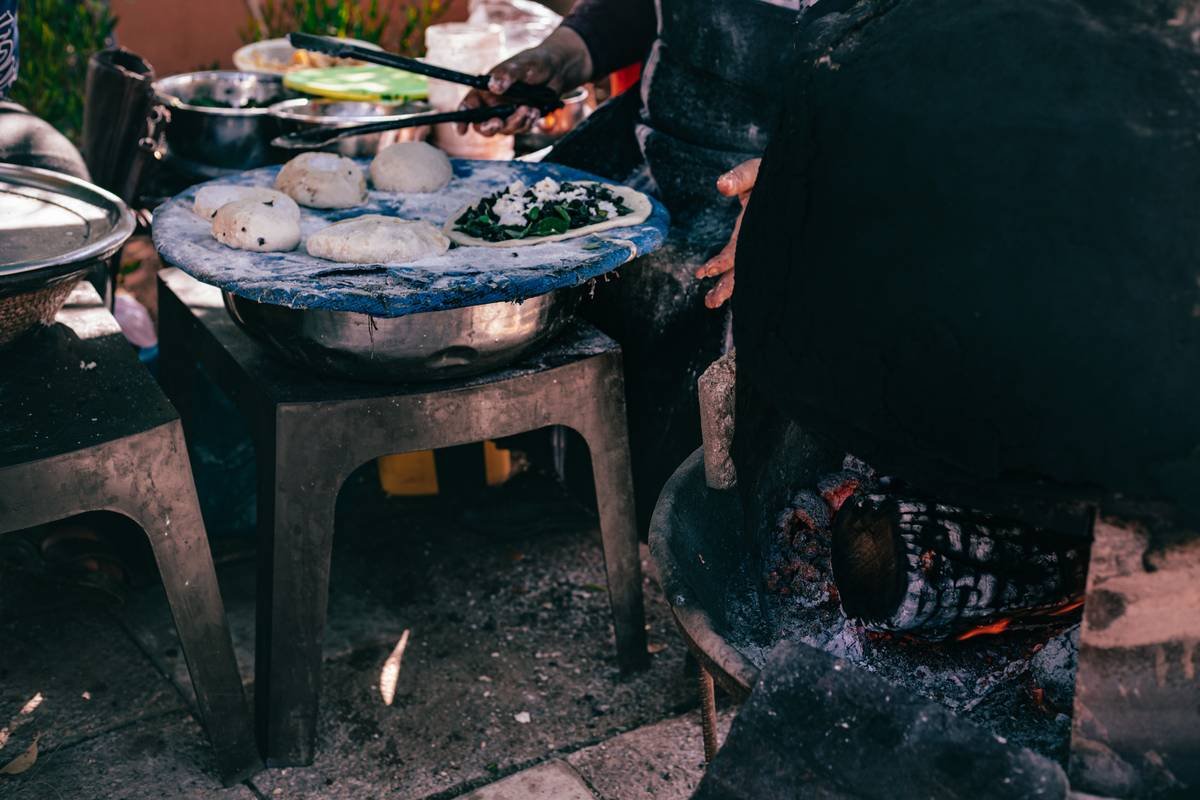
FAQs About Cooking Bread on a Fire
Can I use a bread machine to mix dough for fire baking?
Yes! Run the “dough” cycle only—skip the bake phase. This gives you perfectly kneaded, fermented dough ready for fire adaptation.
What’s the ideal wood for baking bread on a fire?
Hardwoods like oak, maple, or apple. Avoid pine, cedar, or treated lumber—they release toxic fumes.
Do I need a Dutch oven?
Strongly recommended. Alternatives like foil-wrapped stones or grill baskets work poorly—they lack thermal mass and steam retention.
How hot should the fire be?
Aim for glowing embers at 400–475°F. Use a grill thermometer or the “hand test”: if you can hold your palm 6 inches above coals for 4–5 seconds, it’s ready.
Can I bake sourdough on a fire?
Absolutely—and it shines! The long fermentation pairs beautifully with slow, radiant heat. Just ensure full proofing before baking.
Conclusion
Cooking bread on a fire isn’t about rejecting modern appliances—it’s about expanding your baking vocabulary. Your bread machine handles the grunt work; the fire adds poetry. By adjusting hydration, ditching sugar, and mastering ember management, you can turn any machine-mixed dough into a crusty, aromatic triumph that’ll make your kitchen-bound loaves jealous.
So next time you hear that familiar “beep” signaling your machine’s done, consider transferring that dough to a Dutch oven instead. Let the flames do what electricity never could: give your bread a soul.
Like a Tamagotchi, your campfire bread needs attention—not abandonment.
Embers glow softly,
Dough swells in iron womb—
Crust sings at dawn's light.