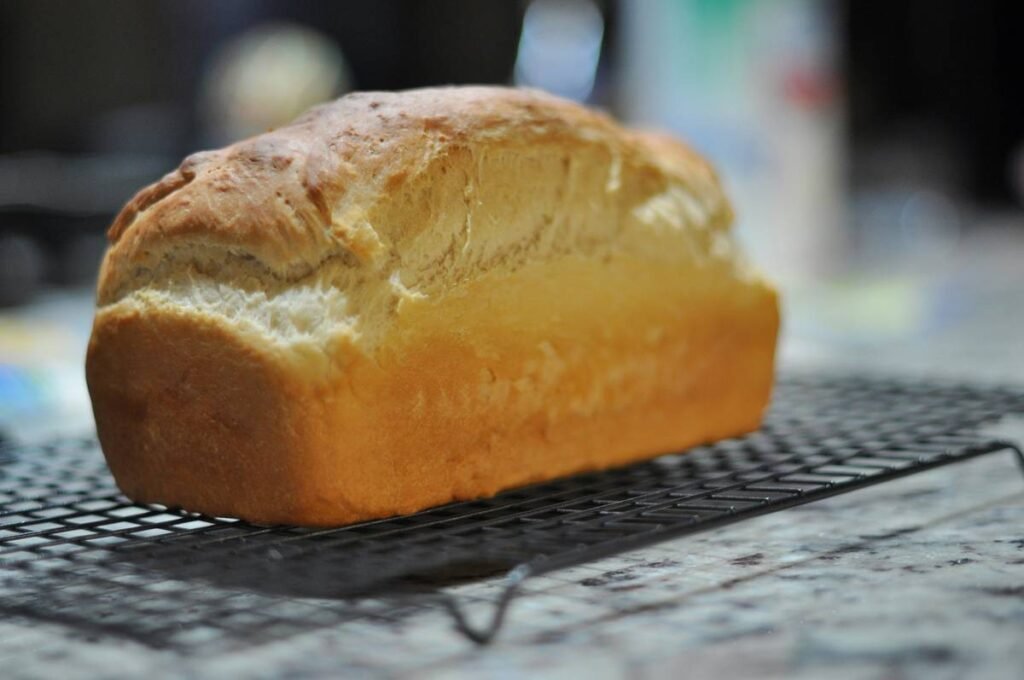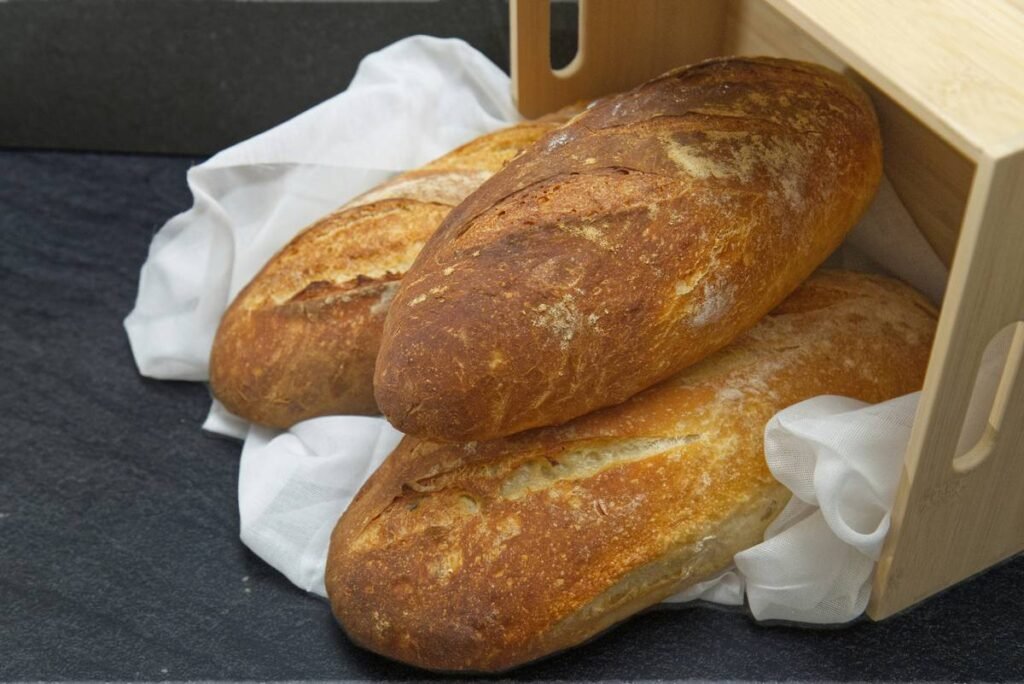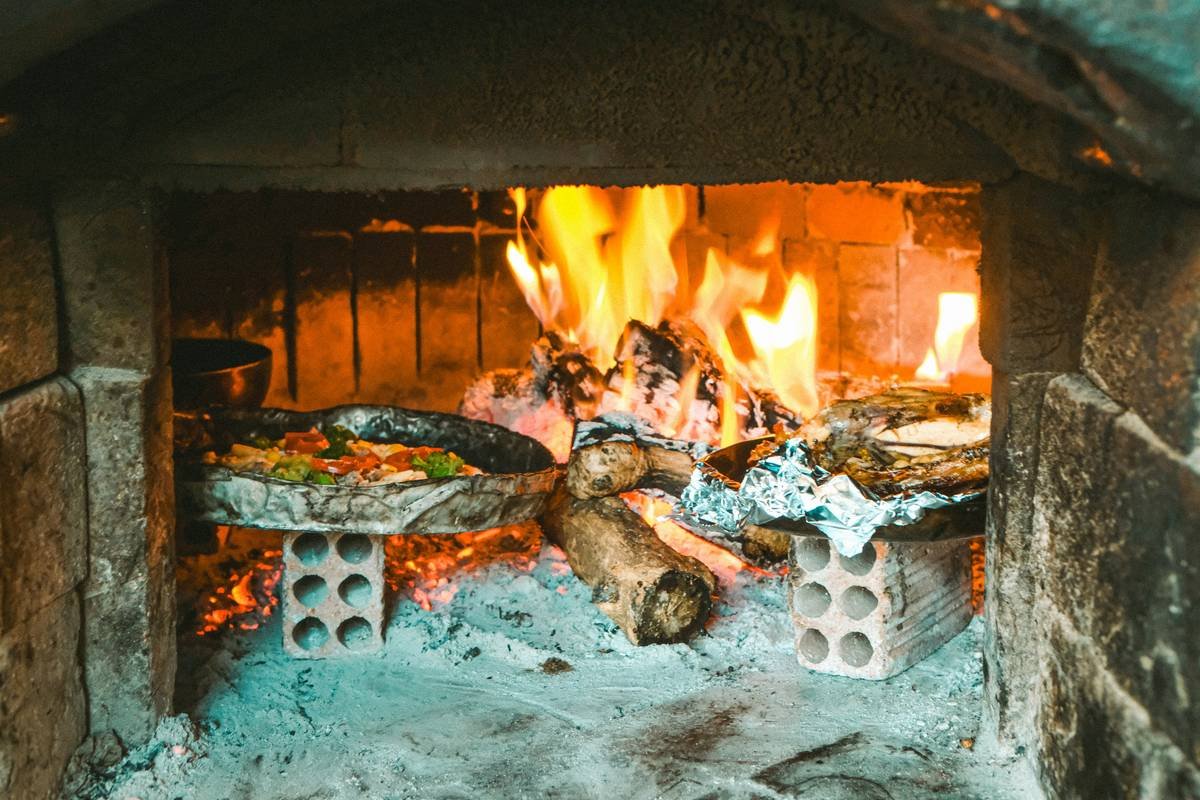
Most home bakers chase perfect crusts with expensive Dutch ovens or steam-injected convection ovens. But what if the secret isn’t in your kitchen at all? Cooking bread underground—an ancient, low-tech method—delivers unmatched moisture retention, even heat, and flavor depth that modern appliances struggle to replicate. And no, it’s not just for survivalists.
Why Your Kitchen Oven Can’t Compete
Conventional ovens dry out dough fast. Steam vanishes in seconds. Hot spots char one side while the other stays gummy. You tweak racks, spritz water, cover with foil—but you’re fighting physics, not working with it.
Underground baking uses thermal mass and radiant earth heat. It mimics professional hearth ovens without $5,000 price tags. The result? Loaves with blistered crusts, open crumb, and a subtle minerality you can’t fake.
How to Start Cooking Bread Underground (Safely & Effectively)
This isn’t “bury it and forget it.” Precision matters. Timing, insulation, and soil type make or break your bake.
Selecting Your Pit Location
Avoid tree roots, utility lines, and soggy ground. Sandy-loam holds heat better than clay-heavy soil. Dig where drainage is natural—waterlogged pits extinguish embers and ruin loaves.
Building the Heat Source
Hardwoods like oak or maple burn clean and long. Build a fire 2–3 hours before baking. Let it reduce to glowing coals—no open flame when bread goes in. Too hot? You’ll incinerate your loaf. Too cool? Dense, underbaked center.
Preparing the Dough
Use lower hydration (60–65%) than usual. Wet doughs collapse without pan support. Shape into tight boules—they withstand handling better. Prove fully; oven spring underground is minimal.
The Insulation Layer That Changes Everything
Here’s the part most tutorials skip: Never place bread directly on coals. Line the pit with smooth river stones or fire bricks first. Then add a 1-inch layer of damp sand or wet burlap. This creates gentle, indirect steam—critical for crust development.
| Method | Time Required | Crust Quality | Equipment Cost |
|---|---|---|---|
| Cooking bread underground | 3–4 hours (incl. fire prep) | Exceptional—crackly, thick, blistered | $0–$20 (stones, shovel) |
| Dutch oven in home oven | 45–60 minutes | Good—limited steam duration | $70–$150 |
| Bread machine (basic cycle) | 3–4 hours (hands-off) | Poor—thin, soft crust | $80–$200 |
The Industry Secret: Why No Major Brand Talks About This
Appliance manufacturers profit from complexity. They sell gadgets that promise control—but real control comes from understanding heat transfer, not pressing buttons. Underground baking strips away noise. It forces you to read fire, feel dough, and listen to the land.
But here’s the twist: Many artisan bakeries *do* use modified earth ovens—just disguised as “custom masonry” installations. The technique’s been rebranded, not replaced. At its core? It’s still cooking bread underground—just with permits and Instagram aesthetics.
Frequently Asked Questions
Is cooking bread underground safe?
Yes—if done correctly. Use food-safe liners (banana leaves, parchment), avoid treated wood smoke, and ensure coals are fully ashed over. Never bury bread in plastic or synthetic wraps.
How long does underground-baked bread last?
Up to 5 days wrapped in linen. The dense crumb and thick crust resist staling better than machine-made loaves. Store in a bread box or clay crock—not plastic bags.
Can I use this method in my backyard?
Absolutely—check local fire ordinances first. Urban areas may restrict open pits, but contained fire bowls or raised stone beds often comply. Always have water nearby.